
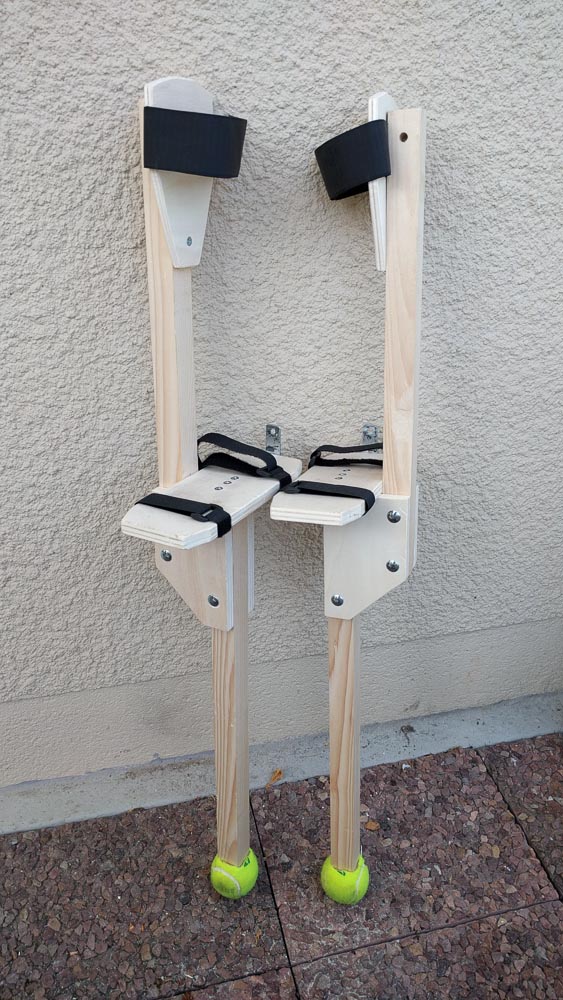
Last step of the assembly: the upper part which join your calf to the stilt. This part can be useful and beautiful.
Take your two 15x10cm board with 10mm thick.
Draw 3.3cmx1cm bevels on a width then 3.3cmx8cm bevels on the opposite width (see photo).
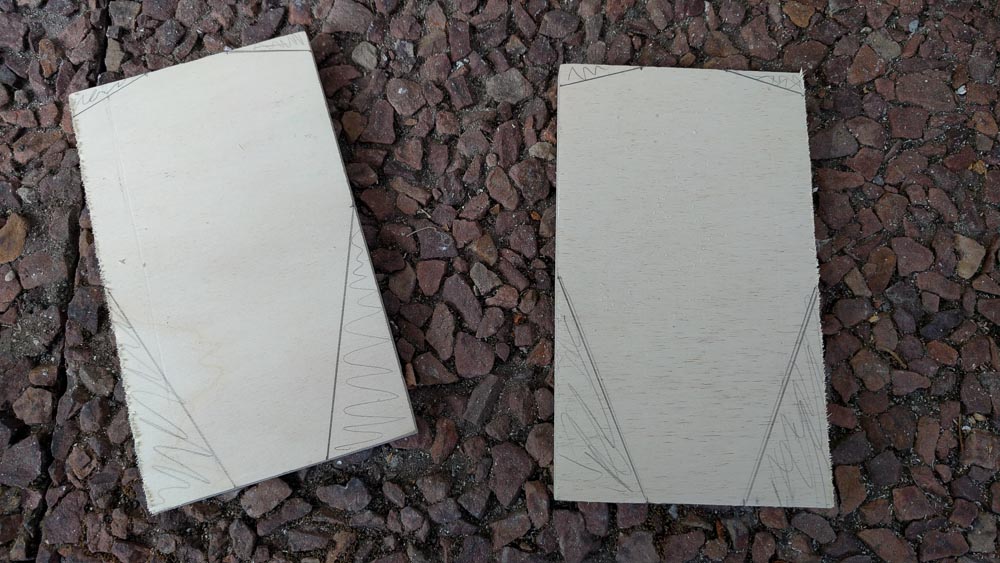
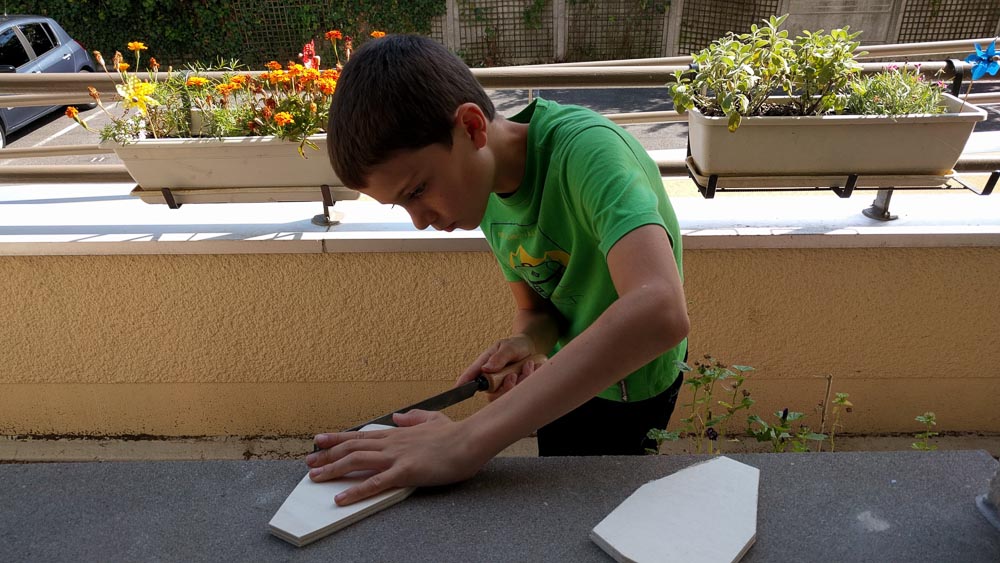
Cut it with your jigsaw and use your file to soften all corners and edges.
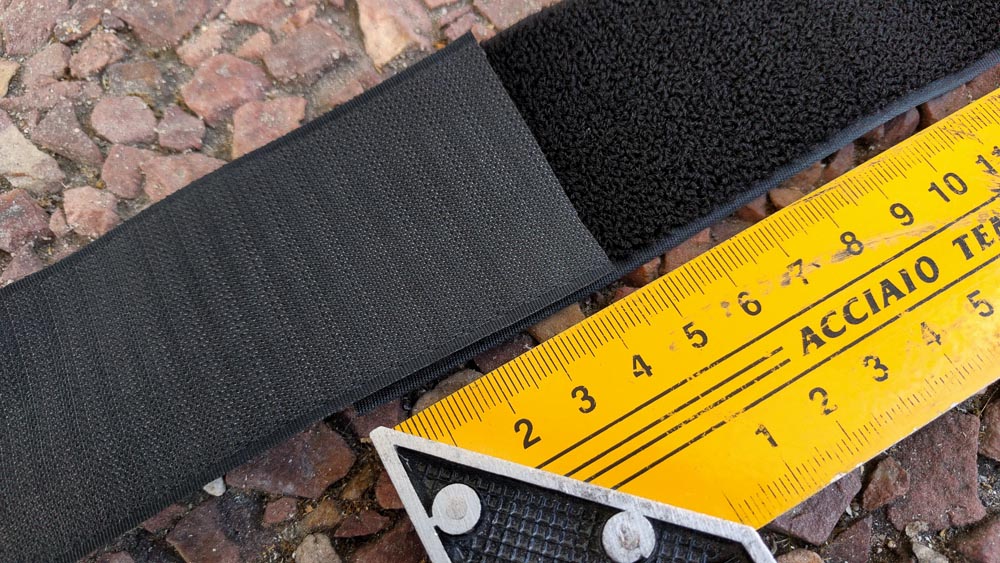
Take the Velcro tape. Detach the two parts that are clinging and attach them to a surface of only 4cm.
Put the velcro strip between the freshly machined board and the top of the stilt. The velcro strap is on the top of the cleat and the top of the board is about 1cm above the cleat.
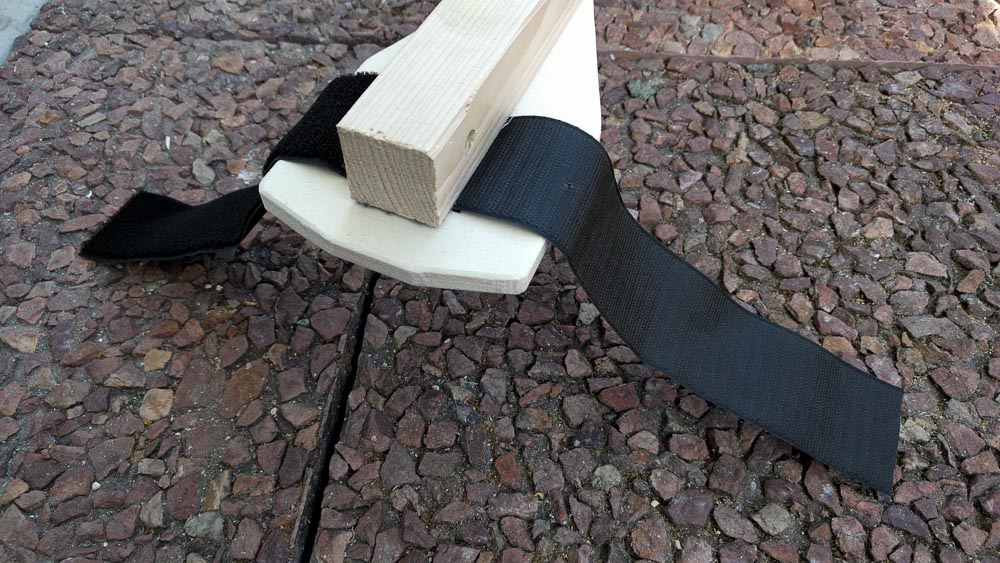
Center every part and fix the board and strap with a tapered screw in the middle of the strap and in the middle of the cleat. Fix a second screw at the bottom of the board.
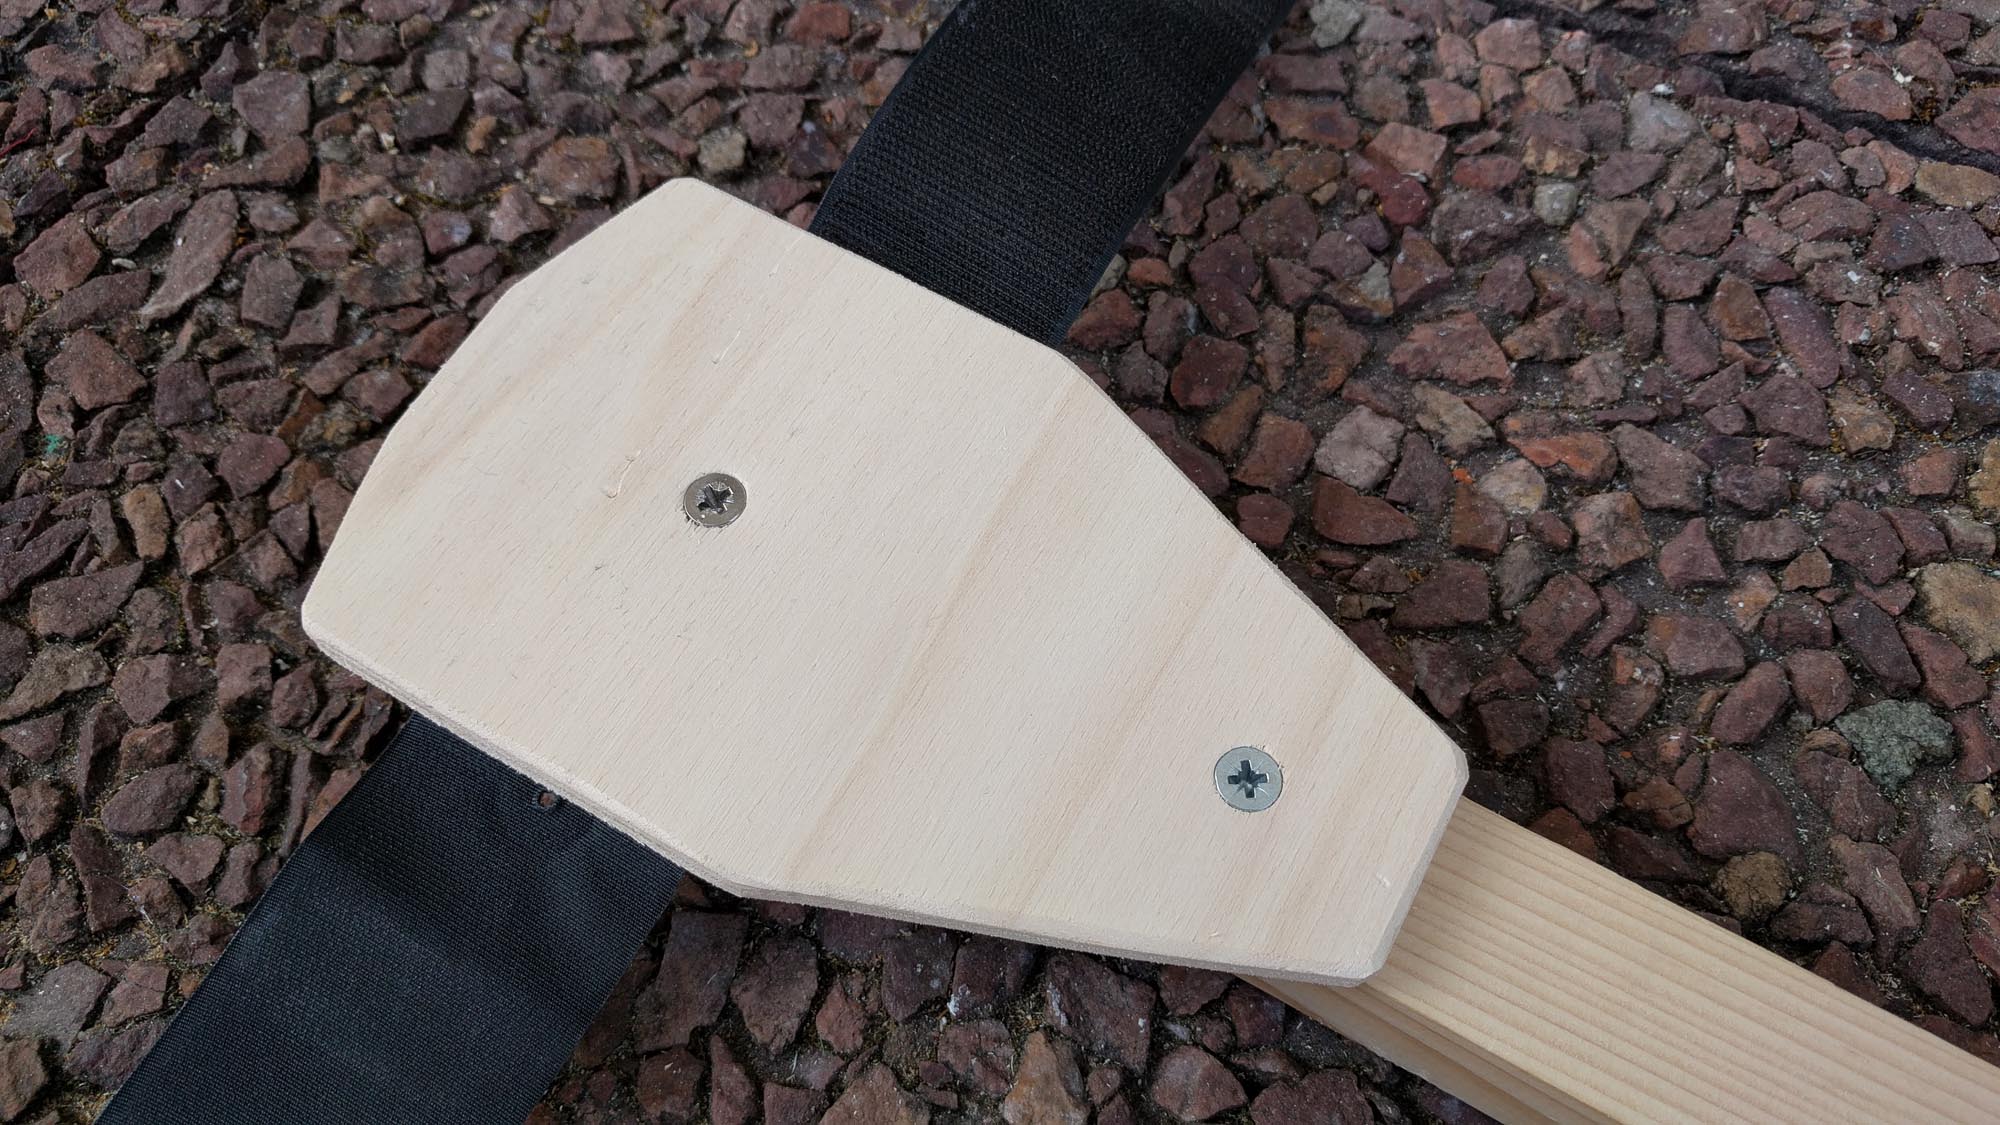
Tuck the screw heads completely in the wood so it can’t rub the calf.
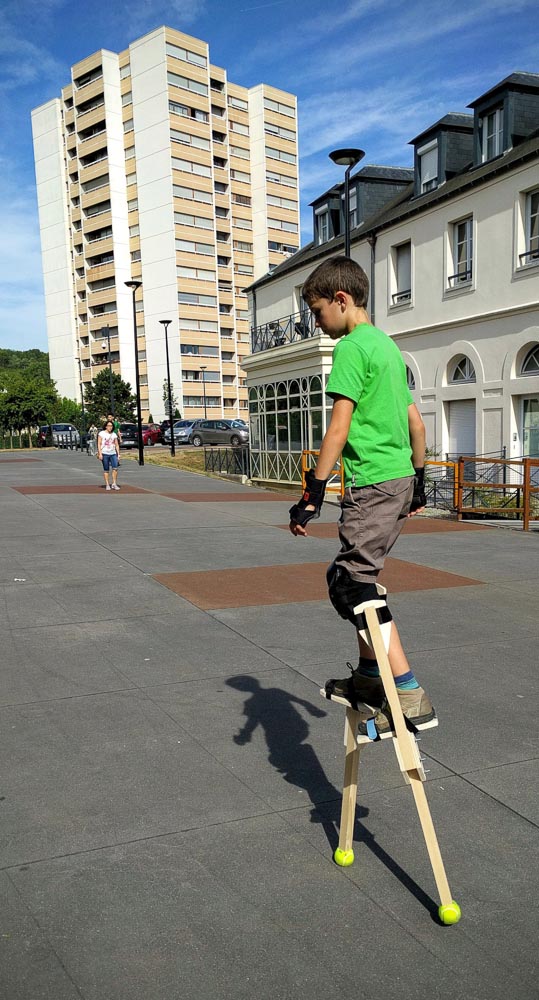
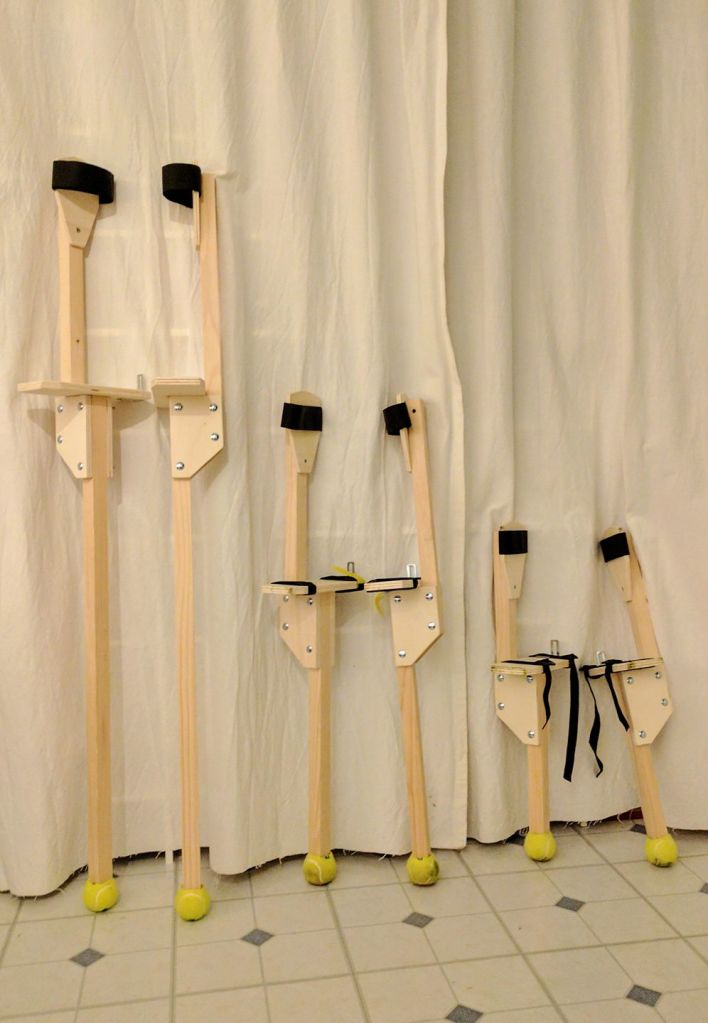
And here it is ! You now have two beautiful wooden peg stilts ready for use.
Don’t forget good kneepads and wrist protections before you start.
Send us pictures of your homemade stilts and of your first steps. We will be happy to see them and share them.
Your comments, feedbacks and questions are welcome to make these plans evolve. Leave some comments at the end of this page.
Was this tutorial helpful?
MAKE A DONATION
Please make a small donation to help us maintain our website.
WARNING:
Stilts and tutorial (text + photos) are under Creative Commons license BY-NC-SA.
Commercial use forbidden.
