
First article devoted to the manufacture of wooden peg stilts, we will begin with the least pleasant: buy the necessary material.
In a DIY store:
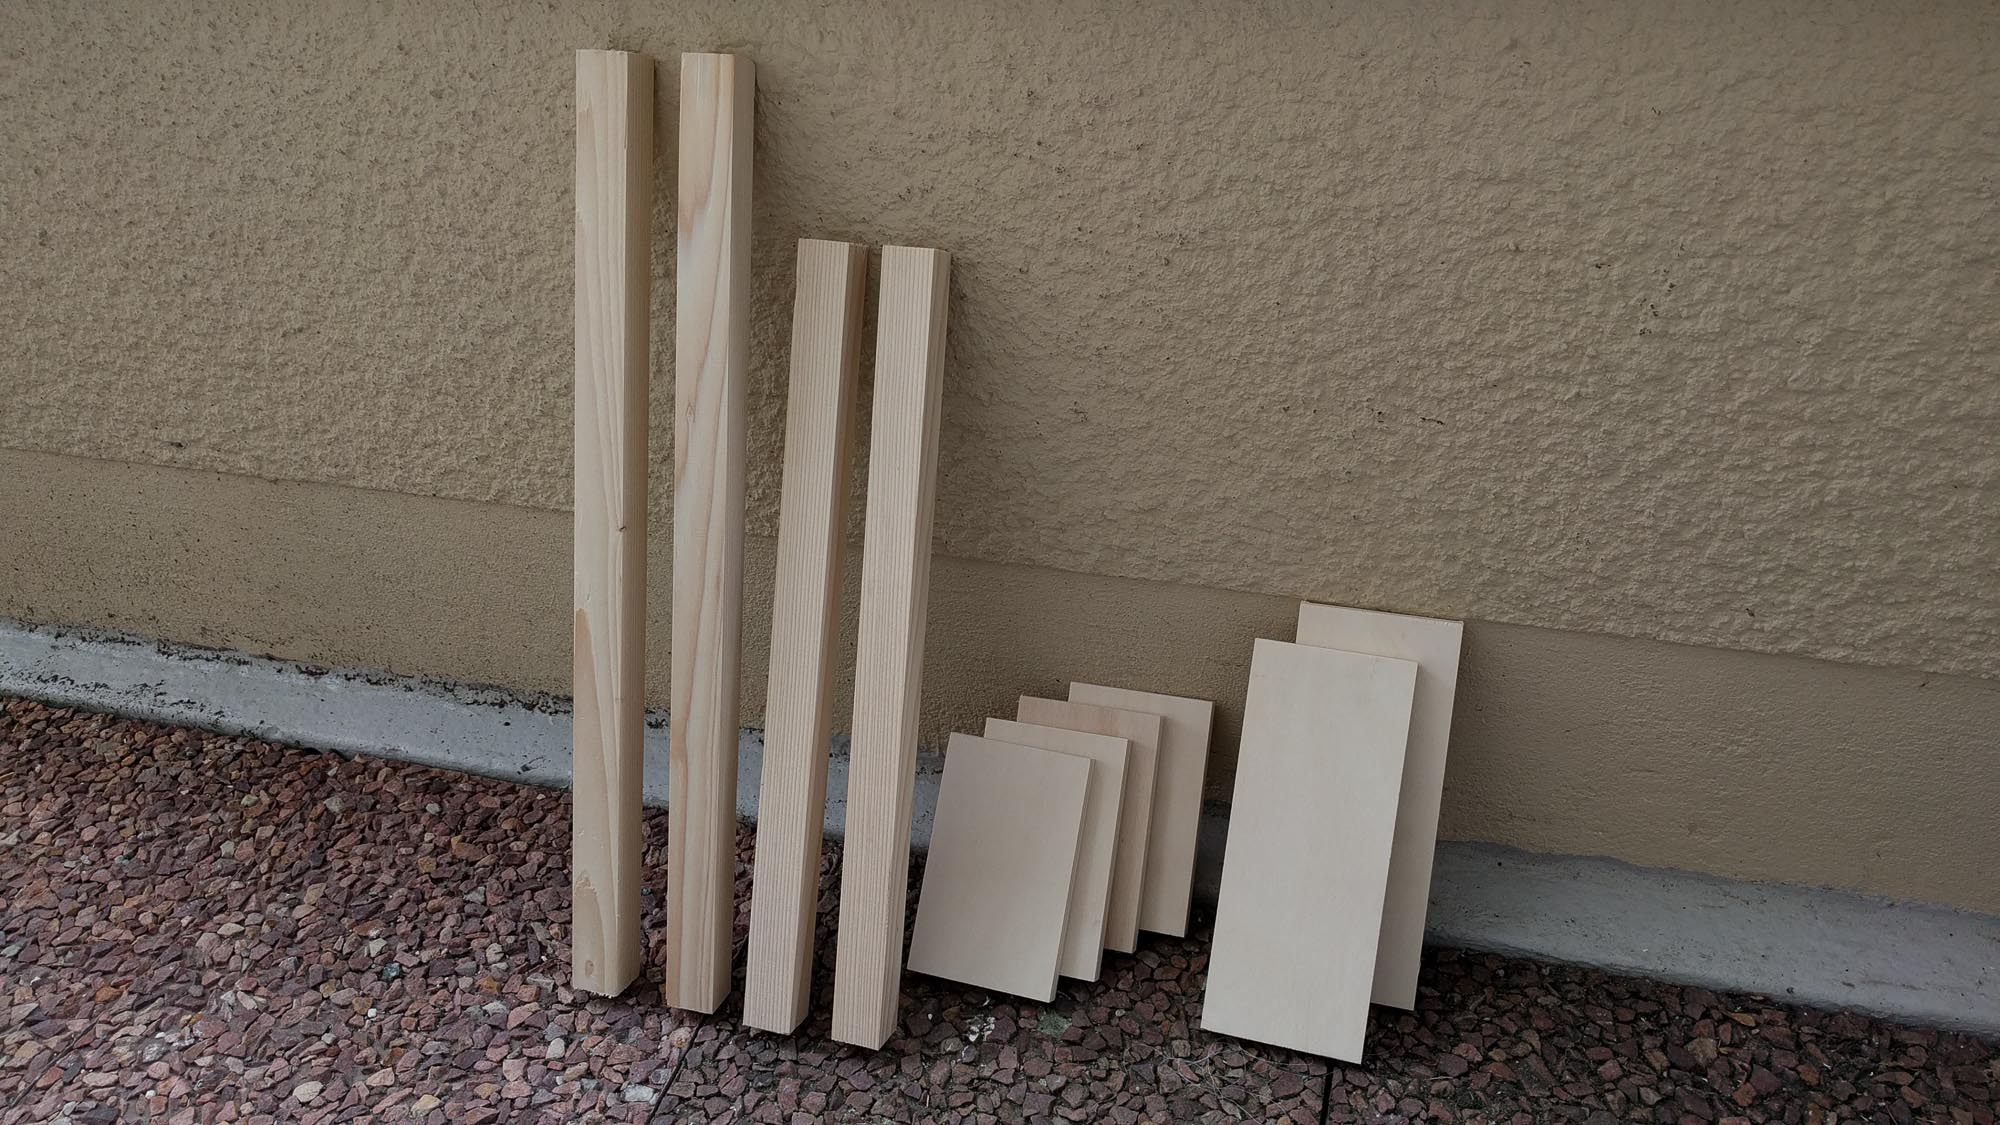
- 1 wooden cleat planed and without knots, length 250cm width 34mm (very straight!)
- 2 plywood boards, thickness : 15mm, dimensions : 10cm x 25cm (30cm for an adult)
- 4 plywood boards, thickness : 15mm, dimensions : 16cm x 10cm
- 2 plywood boards, thickness : 10mm, dimensions : 15cm x 10cm
- 8 TRCC bolts, diameter 6mm, length 7cm
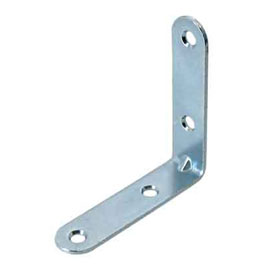
- 2 perforated metal brackets with rounded edges, width 4-5cm (see picture)
- 8 standard washers, diameter 6mm
- 8 lock washers, diameter 6mm
- 6 wood screws, conical head, length 50mm
- 4 wood screws, conical head, length 25mm
- 12 wood screws, flat head, length 10-12mm
In sports store:
- 2 tennis balls
- a bicycle inner tube (preferably used)
In haberdashery:
- Velcro tape (non-adhesive !) width : 5cm lenght : 40cm

Tools (non-exhaustive list):
- Drill and 6mm wood drill (required)
- 1 clamp (essential)
- Jigsaw with Wood blade (or if not a wood saw)
- 1 wood file or sandpaper
- hammer, screwdriver, measuring tape, square, adjustable wrench
Groceries are over. We can go now to Step #2 Assembly of the stilt’s leg.
Was this tutorial helpful?
MAKE A DONATION
Please make a small donation to help us maintain our website.
WARNING:
Stilts and tutorial (text + photos) are under Creative Commons license BY-NC-SA.
Commercial use forbidden.
