
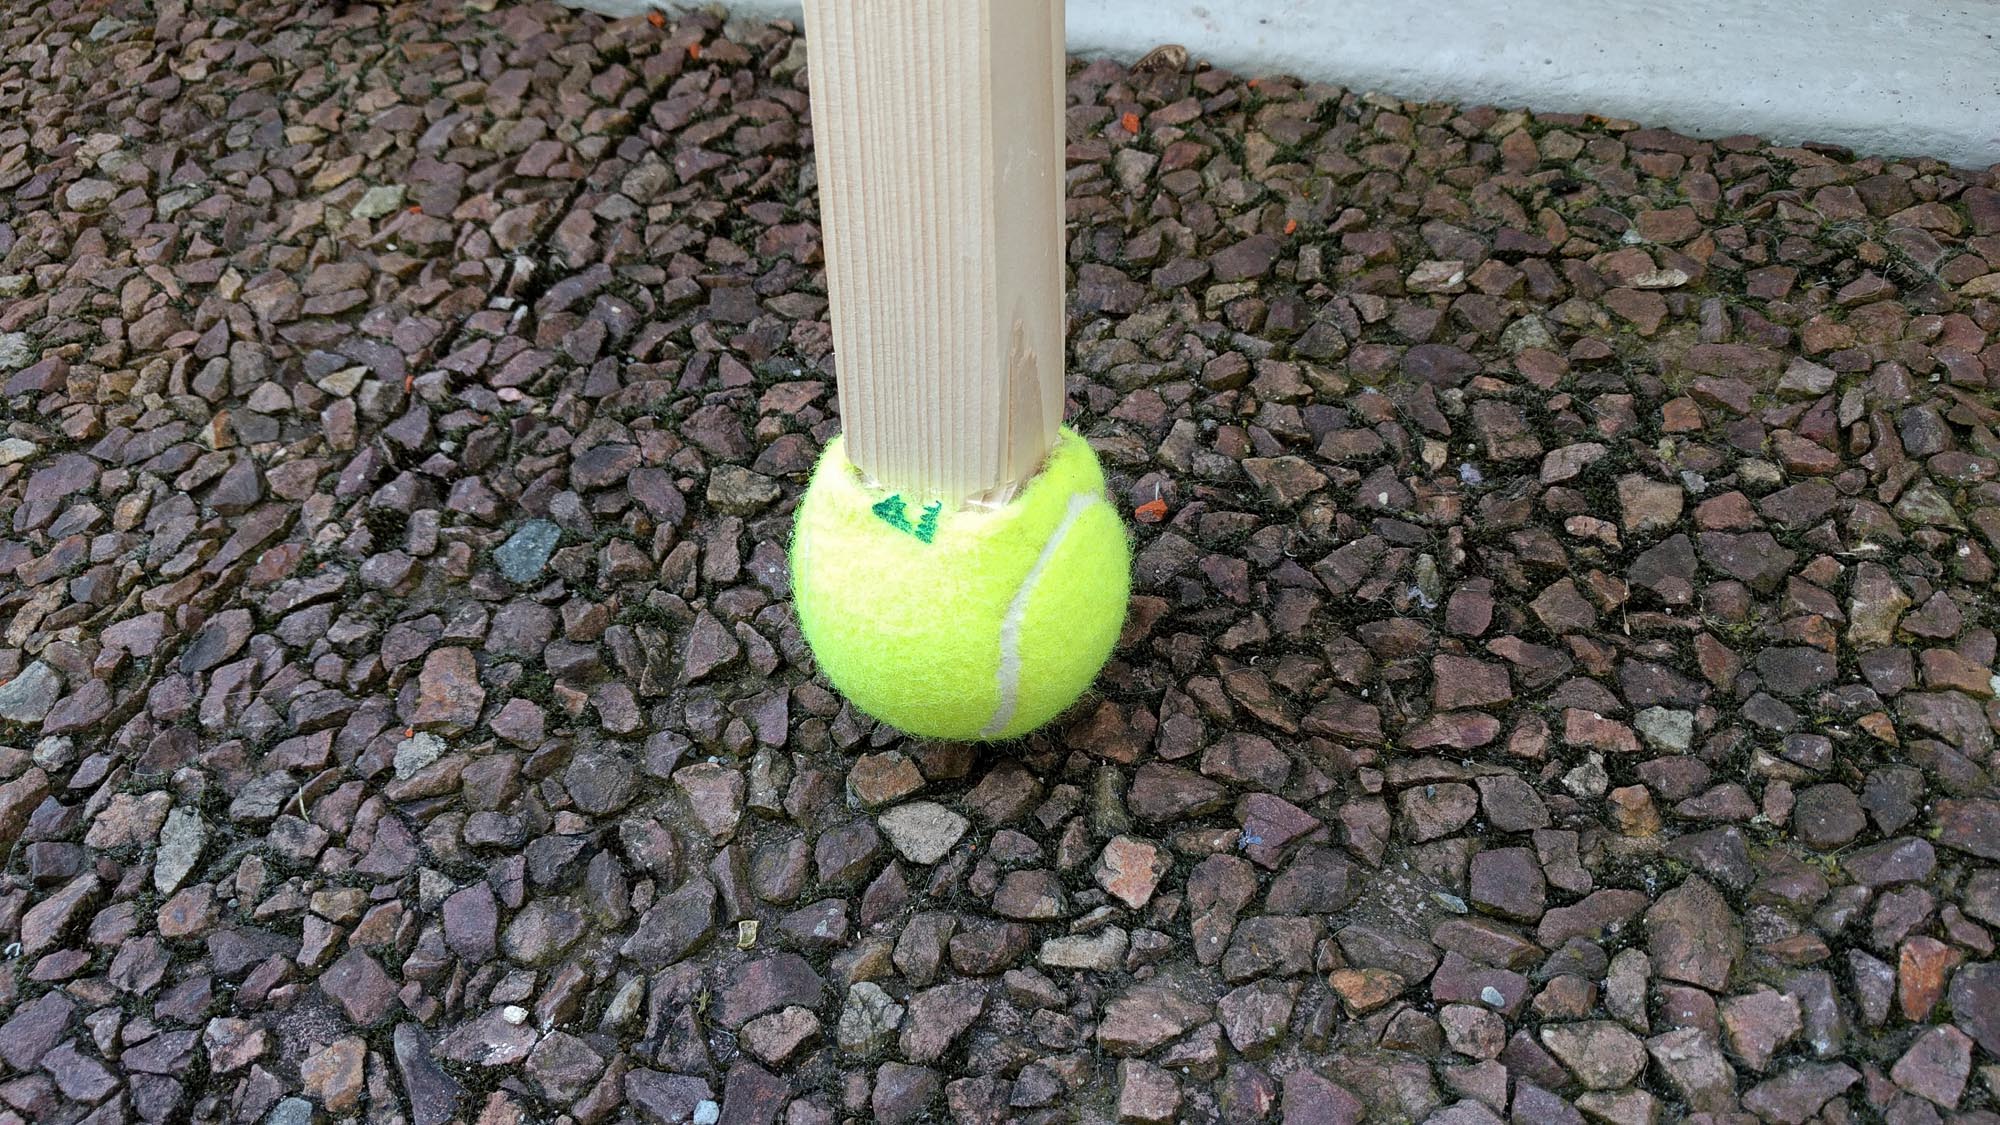
Before last step of the assembly, we will place a tip at the foot of the stilt to cushion the impact of the stilt on the ground and protect the wooden stilt leg.
Take your tennis balls. Drill a hole in the ball and widen it to a diameter from 2.5 to 3 cm. It is a painful operation because the tennis balls are tough. Keep patience.

Take the foot of the stilt and find where the edges of the ball’s hole will be positioned once it is pressed around the leg stilt (ca. 4cm).
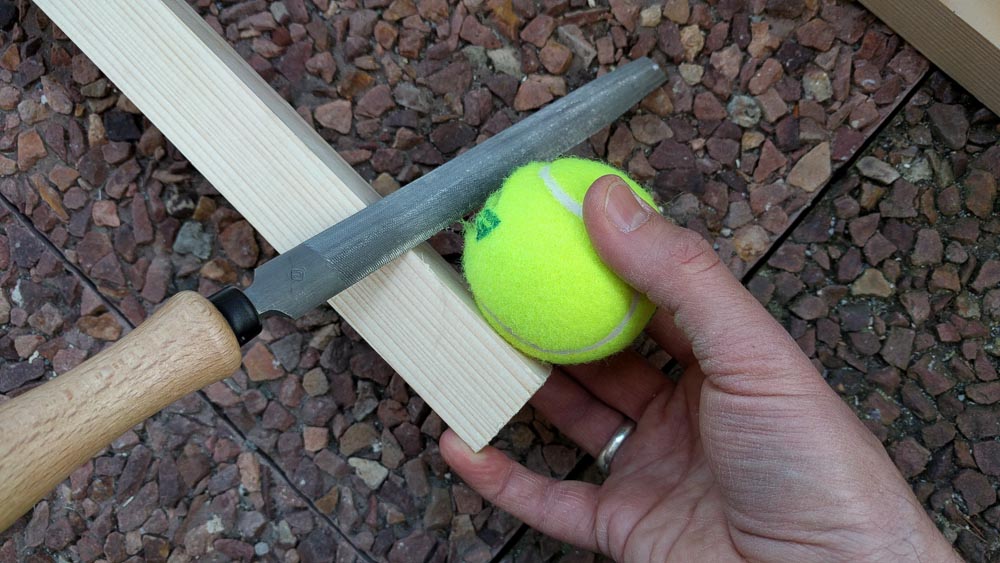
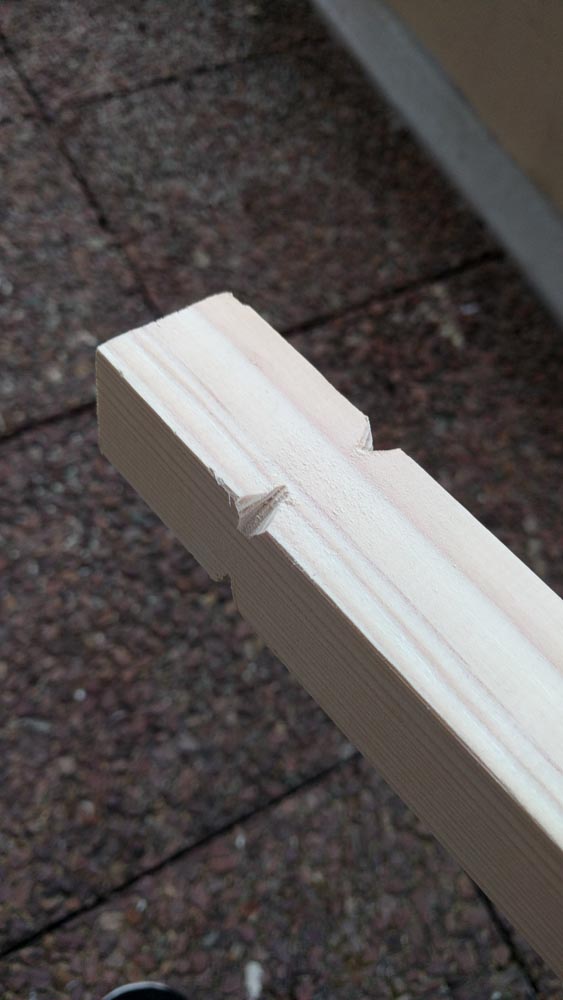
Use the file to dig notches on each corner of the cleat. Also sand the tips and ridges at the end of the stilt.
New painful step : push the ball on the foot of the stilt. It will force a little to pass the four corners of the cleat and reach the notches. You can adjust the width of the ball’s hole but gently. If you enlarge it too much, the ball will lose its flexibility and its ability to protect from the shocks.
You can also find rubber stilt’s feet to order on Internet that will be more efficient. My solution is far cheaper and very easy to find in stores.
Final step of the assembly: Step#6 The calf support.
Was this tutorial helpful?
MAKE A DONATION
Please make a to small donation to help us maintain our website.
WARNING:
Stilts and tutorial (text + photos) are under Creative Commons license BY-NC-SA.
Commercial use forbidden.
